I found this fabulous guide at Card Making Inspirations and I just had to share it! I am going to try this and will post my finished photos when complete!
An introduction to tea bag folding
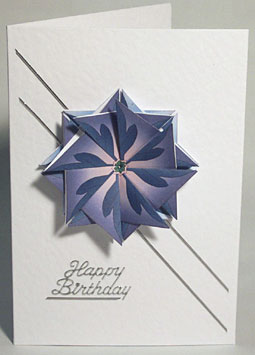
Tea bag folding uses some of the techniques of Origami combined with tiny squares of patterned paper. Once folded these squares are combined in attractive geometric patterns to form a larger design.The art of tea bag folding is said to have been born when a clever Dutch crafter decided to work with the decorative envelopes used to hold fruit tea bags. As the craft developed specially printed sheets have been produced with patterned squares ready to cut out and fold.
Any patterned paper could be used but part of the attraction of the assembled tea bag patterns is the repetition of the design elements.
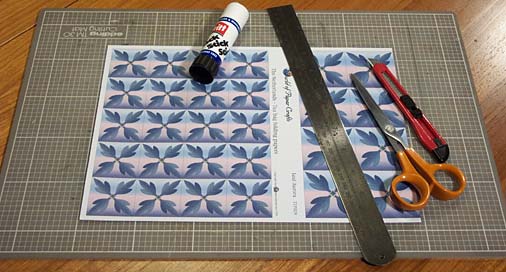
Equipment for tea bag folding together with a sheet of "Leaf Aurora" tea bag paper.
Equipment for tea bag folding.
- Cutting mat
- Metal edged ruler
- Craft knife
- Scissors
- Paper adhesive
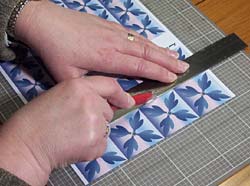 Lay your sheet of tea bag paper on your cutting board. Line up with the grid on the cutting board. Cut a strip of squares using a metal ruler and a craft knife.
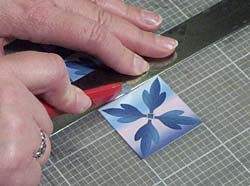 Cut a single square.
Folding the paper.
On the diagram the green shaded areas represent the right side of the paper, the white areas the wrong side of the paper.The dotted lines represent folds you are about to make, the solid lines represent folds you have already made.
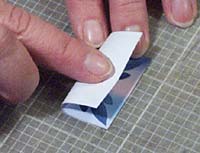
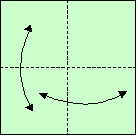 Step 1.
In step 1 and 2 you are creating creases by folding and unfolding.
1. Fold the paper into half and then unfold it. Fold in half the other way and unfold it.
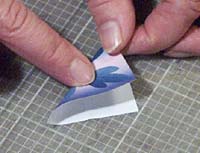
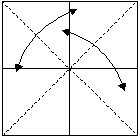 Step 2.
2. Turn the paper over and fold from corner to corner then unfold it. Fold the other two corners together then unfold it.
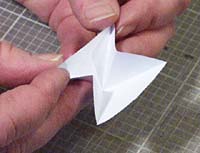
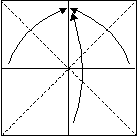 Step 3.
3. Fold the lower half up and the outer edges into the centre, manipulating the creased paper into shape 4.
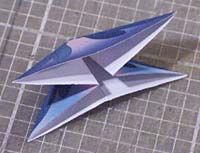
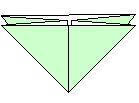 Step 4.
Fold a total of eight shapes to this stage.
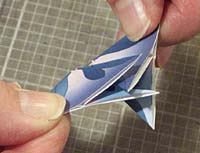
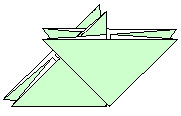 Step 5.
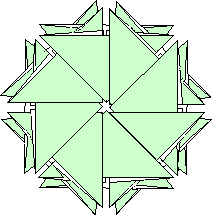
5. Slide a second folded sheet between the V of the first shape. Note the way the V's of each piece go together.
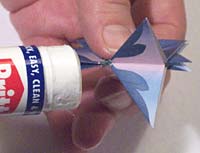 Fix the pieces with paper adhesive as you assemble the shape. If this is your first try it might be best to assemble it dry to start with, then fix it with adhesive when you are satisfied you have the correct method.
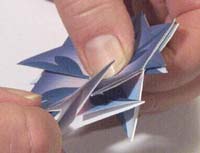 6. Continue sliding new pieces into the V of the previous piece until the design is complete.
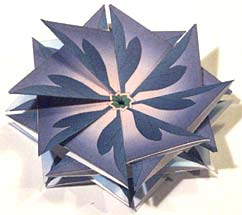
The last piece of the set will take a bit of manipulation to get it into the correct position. Study the finished diagram to see how it should look.
No comments:
Post a Comment