Because vellum is such a specialty paper, there are tricks to working with it. Vellum is not as porous as your other scrapbooking papers, so adhesives and inks won’t be absorbed as quickly. And because vellum paper is so transparent, most adhesive will show through. Once you know the tricks, you’ll find that creating wonderful vellum pages is pretty easy.

A few tips:
Handle with care. Vellum is beautiful because it is so delicate. And because it’s so delicate, it also requires special attention. As with any light–colored paper, smudges and creases show up more easily than on dark paper; vellum will be protected if stored inside the book it came in or in a file folder.
Picking Paper. When selecting paper to place under a white vellum overlay, choose the brightest patterns and colors. These will show up more clearly than a pale or very dark color. White vellum is also perfect for softening a paper pattern that’s too bright for your photo.
Pastel vellum transforms solid and patterned papers—slip a few different papers under your colored vellum sheet to discover just how many dramatic looks there are. Part of the fun of working with vellum is the delight of finding just the right combination, so play and experiment with your papers to see what you like best.
Vellum for journaling. Vellum provides a wonderful journaling option, as it allows for perfect tracing. Simply lay the sheet of vellum over the alphabet you want and trace with a pen. Because vellum isn’t as porous as regular paper, the ink often “sits” on top. Try journaling with Zig Writers, Sakura pens, Zebra’s Jimnie Gel Rollerball and Pentel Gel Rollers. Whatever you do, always let the piece dry for a few minutes before working with it.
For an extra-special effect, color with chalk, markers or colored pencils on the reverse side of a sheet of white vellum. Chalks and colored pencils will give a soft, muted look, while markers can produce a stained-glass effect.
Vellum and computer printers. Yes, you can run vellum through a computer printer. Just be sure to let the ink dry for a few minutes before handling. And if you’re printing multiple sheets, be sure to remove the vellum from the tray after printing.

Tearing vellum. Vellum can be torn for really beautiful borders. Torn vellum lends a soft look to a page. Go ahead, try it!


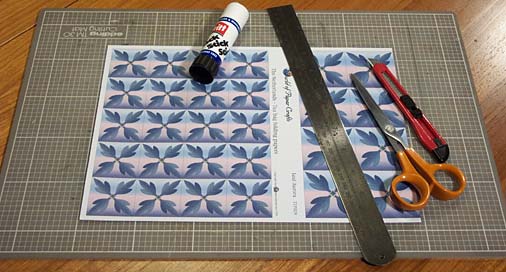
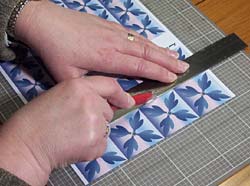 Lay your sheet of tea bag paper on your cutting board. Line up with the grid on the cutting board. Cut a strip of squares using a metal ruler and a craft knife.
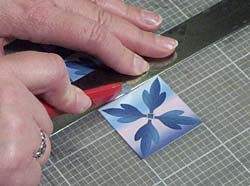 Cut a single square.
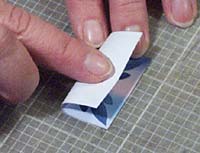
 Step 1.
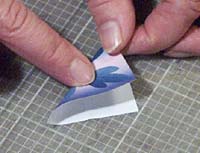
 Step 2.
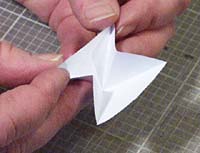
 Step 3.
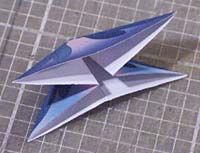
 Step 4.
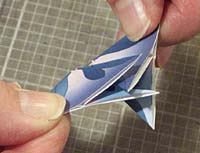
 Step 5.
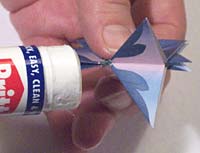 Fix the pieces with paper adhesive as you assemble the shape. If this is your first try it might be best to assemble it dry to start with, then fix it with adhesive when you are satisfied you have the correct method.
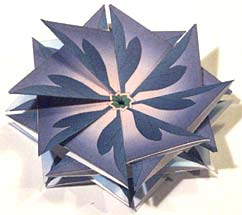
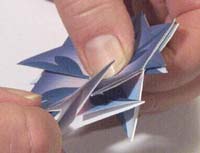 6. Continue sliding new pieces into the V of the previous piece until the design is complete.